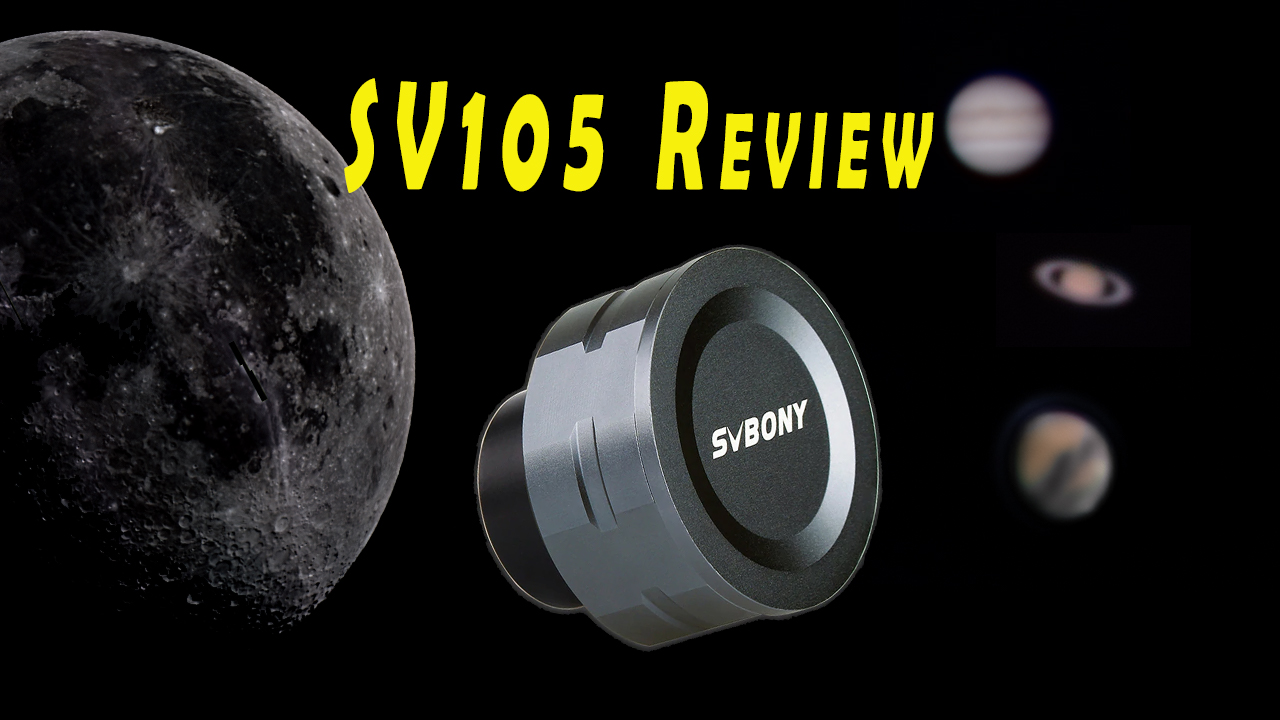
SVBony was kind enough to send me their entry level planetary camera for a review and I actually was quite surprised on how well it worked out. The camera at the time of the review retails for $50 USD so its very much in the ball park of your webcam or cellphone, however its purpose designed for astronomy and its 1.25″ form factor makes it easy to use on almost any telescope.
Now this is a budget camera, so its frame rates are limited and for “lucky seeing” you basically want to take as many frames as possible.
MJPEG – changing resolution didn’t really change FPS, it sat at 30fps.
YUY2 is a Different Story:
640×480 – 30fps
480×640 ~29fps
800×600 – 25fps
1280×720 – 10fps
1280×960 – 5fps
1280×1024 – 5fps
1920×1080 ~ 4.8fps
I’m sure YUY2 is higher quality video feed, however for planets like Jupiter its just too slow to get enough frame data before it rotates (about every 3 minutes, 5 minutes if you are using derotation software). So for the evening I stuck with MJPEG.
I connected it to my Celestron EdgeHD as its 2023mm native zoom (10,000mm with the 5X powermate I also happen to own) and 8″ diameter makes it my only “planetary” telescope as larger apature generally is better when imaging planets or the moon for getting details.

I did make a review video for the camera, which contains some raw video footage and photos if you wan to check that out below.
I ended up controlling the camera with SharpCap, it actually worked quite well and I did test a few tools for nailing focus (side-note: I actually make my own Bahtinov Mask for the EdgeHD8 so I actually was 99% in focus according to Sharpcap when I started).

Jupiter was first up in the night sky, and once I had dialed in the exposure settings (a combination of exposure time and gain) on the screen it looked pretty good despite seeing occasionally fluttering. Its late summer here so temperature shifts and high humidity play havoc with seeing conditions.


Next Up was Saturn but Seeing degraded while it was in prime position, so I managed to get a decent photo but I’m certain with calmer skies I can get the Cassini division between the two larger rings.

I then moved over the moon which was rising in the east, I had to wait about an hour for the sky to calm down and the moon to rise high enough.

So with the moon and the power mate I was looking at specific regions, I’m not super familiar with the features of the moon except for the tyco crater… so I decided to try for a moasic of the entire lunar surface which actually turned out really well, except I missed to overlaps… but it makes my mosaic uniquely mine.

Finally for the end of the night I decided to try for Mars, I had never imaged mars before in detail (once I tried with my GH4 and Zenithstar 80ED before I had barlows and powermates and all i got was a red dot. This attempt was significantly better, I could even see surface features and what not.

So now that I have this planetary imaging camera I’m going to have to brush up on post-processing techniques and hope for a few nights of excellent seeing as I’m certain I can squeeze a little bit more out of this $50 marvel.
Consider Supporting My Reviews by Purchasing the Camera via the following affiliated links (costs you nothing extra but I get a small kick-back).
Canada: https://amzn.to/3mltEiK
USA: https://ebay.to/35DtEor
UK: https://amzn.to/2FmSIoz

Hi,
great page and great to read, i have the 305 pro and 105 (for guiding and imaging).
I have a problem though the laptop i have keeps seeing the sv105 as the webcam lidar scanner and doesnt show the input from the camera.
On my windows machine the device manager still insists on loading the USB Camera (358boot). ive gone through the first three pages on google and Bing and neither Ubuntu nor win10 is recognising the 105.
Do you have any suggestions or pointers?
Also where is the link for to=he 105 drivers? the tag for the software download leads to this page.